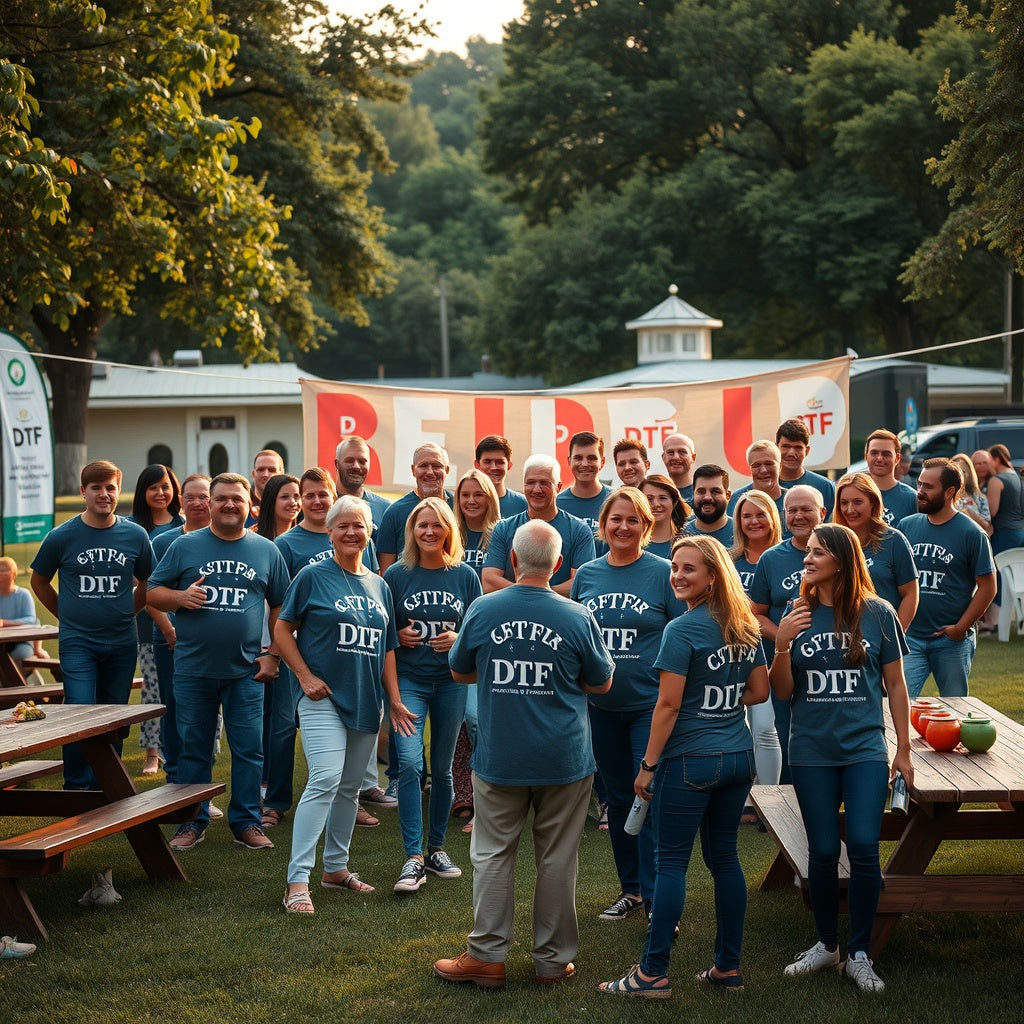
How to Create Custom Reunion Apparel for Every Occasion
Reunion apparel starts with organization
Whether the event is a family reunion, class gathering, unit reunion, church gathering, or long-running friend-group meetup, apparel works best when the organizer controls three things early: the attendee list, the artwork, and the garment choices.
Collect sizes and personalization once
Use a shared form or spreadsheet to collect names, sizes, garment choices, and personalized text. Set a cutoff for changes and keep one approved roster. This reduces spelling errors and prevents different family members from sending conflicting updates through separate messages.
Build a design that scales
A reunion design may need to work on youth and adult garments, different colors, or several item types. Create the master artwork first, then prepare size variants only when the printable area requires them. Keep dates, surnames, locations, and attendee names readable rather than squeezing too much text into one print.
Respect trademark and copyright
School mascots, military insignia, commercial logos, characters, and other artwork can be protected. Confirm that the group has permission to reproduce artwork it does not own. Historical or sentimental significance does not automatically create printing rights.
Personalized backs and names
When each piece has a different name, generate the personalized files from the approved roster and give each file a clear identifier. During production, match each transfer to the garment before pressing. A second-person check is useful when the order contains many similar names.
Plan gang sheets from final size
Gang sheets can combine common front graphics, names, or several versions of the same design. Build at final dimensions and follow the current builder's spacing rules. Use live pricing from the current order path; historical square-inch prices and example cost tables should not be used for budgeting.
Choose garments for the people attending
Do not rely on a generic size distribution. Use actual responses whenever possible. If the organizer wants spare garments, choose the number and sizes based on the group's history and budget rather than an unsupported percentage. Confirm that the selected garments are compatible with the chosen decoration method.
Application and inspection
Follow the instructions provided with the specific transfer. Press settings vary by transfer system and garment. Test unfamiliar fabrics first. After application, inspect placement, adhesion, garment condition, and personalization before packing each attendee's order.
Budget and schedule
Build the budget from current garment costs, current transfer pricing, shipping, packaging, and any production labor. Build the schedule backward from the reunion date with room for corrections. Current product and checkout pages are the source of truth for pricing, order minimums, shipping, and turnaround.
Keep the source files
Save the editable design, roster, and production notes. If the reunion becomes an annual event, update the year or location from the source file rather than editing a low-resolution copy of last year's artwork.
InkMerge Pro
Need the transfer, not the shirt?
Browse ready-to-press DTF designs or upload your own artwork. Current product pricing and shipping details are shown on the product page and at checkout.